Masimo ROOT
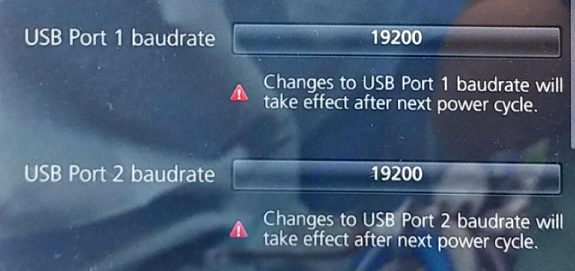
Note: Power-cycle the ROOT after changing the USB baud rate. The new rate takes effect after restart.
| Cable | Adapter | Port | Serial | VR Device Name |
|---|---|---|---|---|
| Masimo data-acquisition USB cable (preferred) | None | USB1 or USB2 | ASCII 1 — 19200 baud | Root |
Connection Steps
- Plug the Masimo data-acquisition USB cable into USB1 or USB2 on the rear of Root.
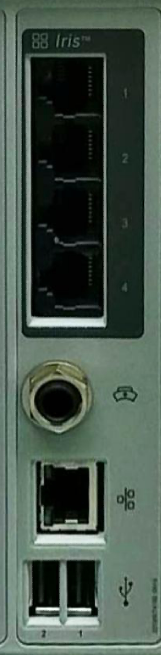
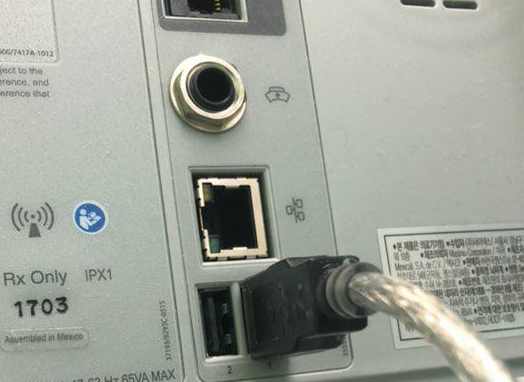
- Connect the other end to the PC.
Device Configuration
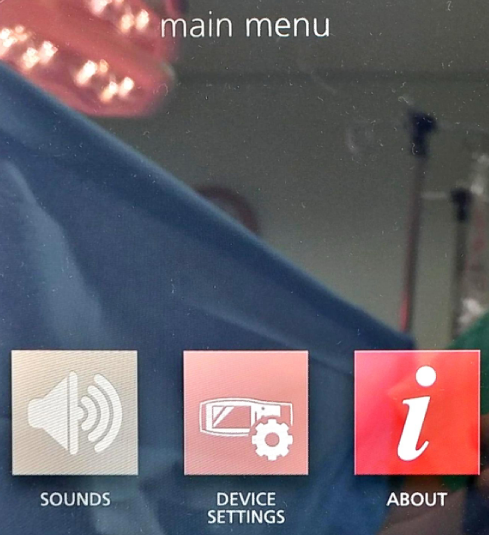
- From the main menu, select DEVICE SETTINGS.
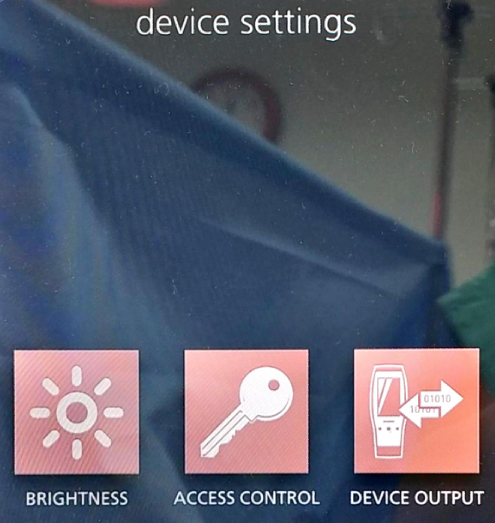
- The device settings screen offers BRIGHTNESS, ACCESS CONTROL and DEVICE OUTPUT. Select ACCESS CONTROL.
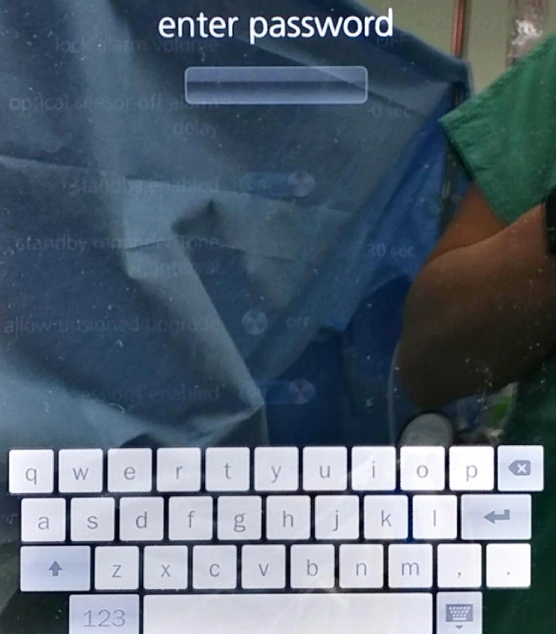
- An on-screen keyboard prompts for the access-control password. Enter
6274.
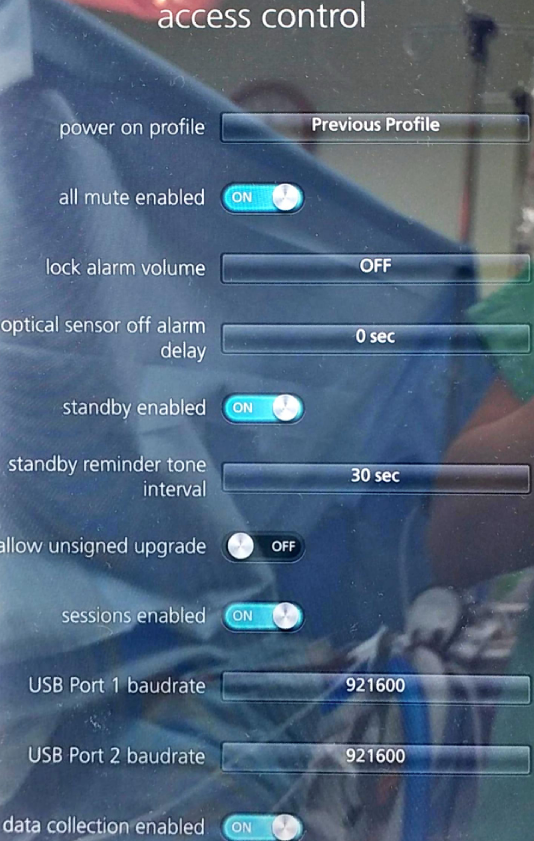
- Scroll the access-control list to USB Port 1 baudrate and USB Port 2 baudrate. From the factory these read 921600.
- Set both baud rates to 19200.
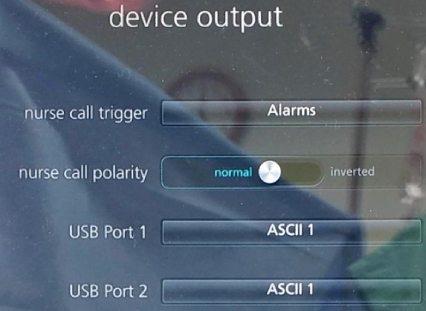
- Go back to DEVICE SETTINGS and this time select DEVICE OUTPUT.

- Set USB Port 1 and USB Port 2 to ASCII 1.
- Restart Root to apply the baud rate changes.
Vital Recorder Setup
Add the device as Root and select the PC serial port assigned to the data-acquisition cable.